

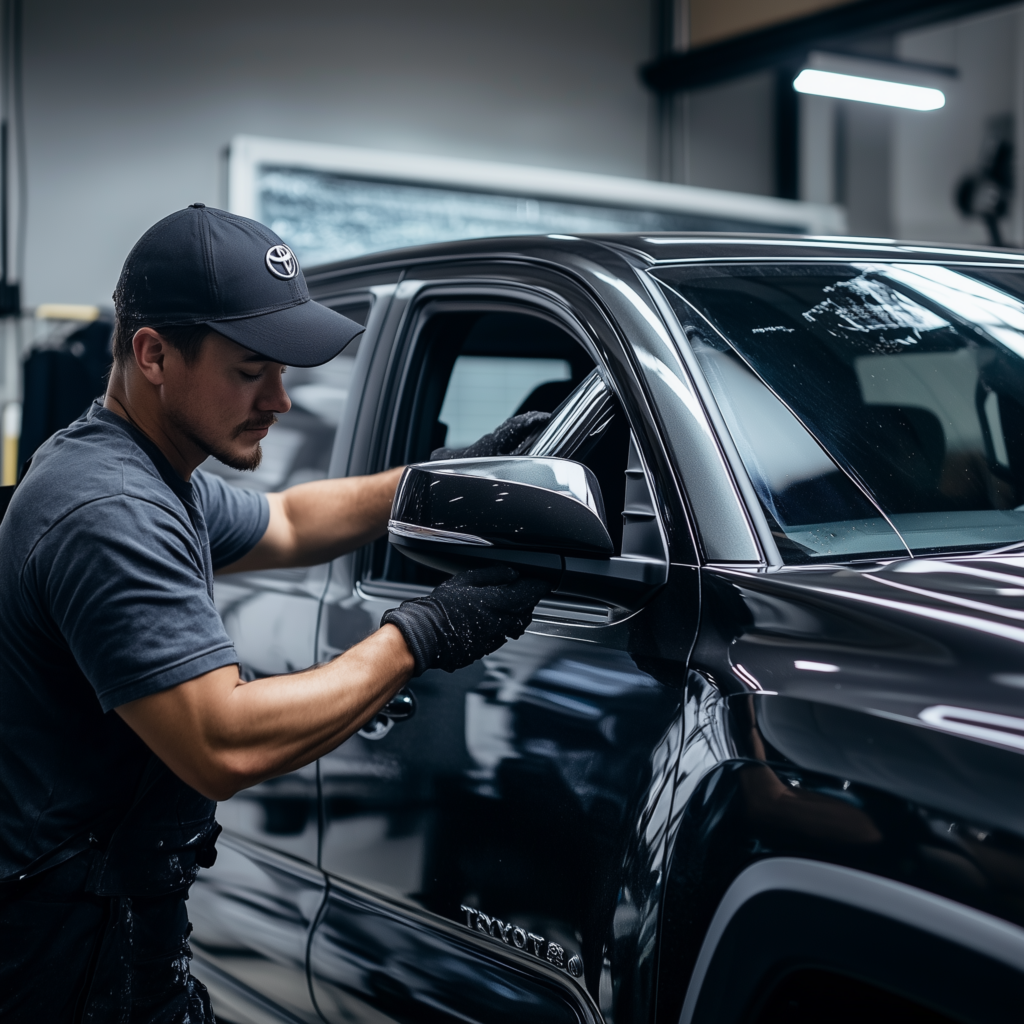
If your vehicle’s paint has lost its brilliance and now shows signs of swirls, scratches, or dullness, it might not need a repaint—it likely needs paint correction. Whether you’re a hands-on DIY detailer or simply curious about restoring your car’s finish, this guide covers everything you need to know about the paint correction process and how it can transform your ride.
What is Paint Correction?
Paint correction is a detailed process that removes surface-level imperfections from your car’s clear coat. Using specialized tools and polishing techniques, it eliminates:
- Swirl marks
- Light scratches
- Oxidation
- Water spots
- Holograms
By leveling the clear coat and refining the surface, paint correction restores depth, gloss, and a glass-like shine to your vehicle’s exterior.
Why Paint Correction Matters
From daily driving to environmental exposure, your vehicle faces countless threats to its paint. Here’s why paint correction is a valuable service:
- Restores Original Gloss – Revives the rich color and finish of your paint
- Improves Resale Appeal – A flawless exterior creates a better first impression
- Prepares for Protection – Creates an ideal base for ceramic coatings or PPF
- Removes Unwanted Marks – Eliminates visible damage like swirl marks and surface scuffs
How to Perform Paint Correction: Step-by-Step
Step 1: Wash and Decontaminate
Begin by cleaning the surface thoroughly:
- Use pH-neutral car shampoo
- Apply iron remover and clay bar/mitt to lift embedded debris
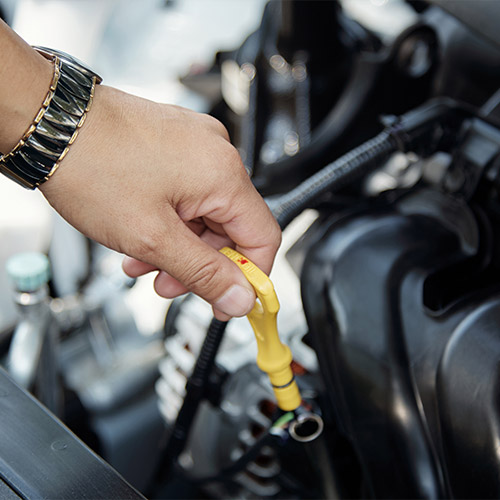
Step 2: Inspect the Paint
Use proper lighting or a paint depth gauge to identify problem areas. Mark heavier defects that need extra attention.
Step 3: Mask Delicate Areas
Apply masking tape over trim, badges, and edges to avoid accidental damage during machine polishing.
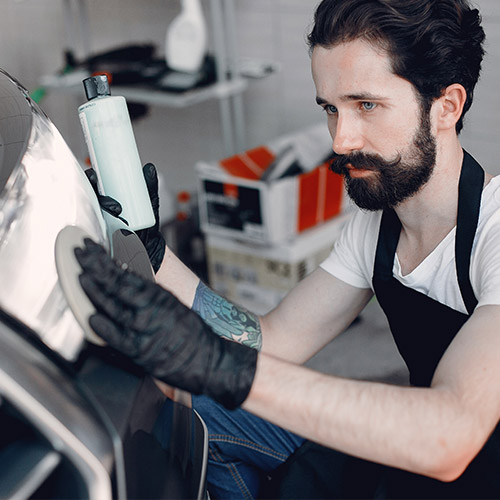
Step 4: Compound the Surface
This is the correction stage:
- Use a dual-action or rotary polisher
- Apply a cutting compound with a firm pad
- Work in controlled sections with overlapping passes
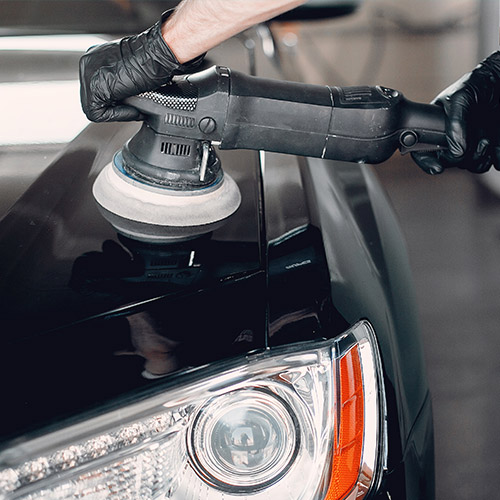
Step 5: Polish to Refine
Once compounding is complete:
- Switch to a softer pad and finishing polish
- Remove micro-marring and restore full clarity
Step 6: Wipe Down and Inspect
Use an isopropyl alcohol (IPA) solution to clear any polish residue and re-check your work under light.
Step 7: Apply Paint Protection (Optional)
Lock in the results using:
- Ceramic coating
- Paint sealant
- Carnauba wax
This step enhances gloss and shields your paint from future contaminants.
Debunking Common Paint Correction Myths
“It’s just like waxing.”
No—it’s completely different. Wax masks damage; paint correction removes it.
“It can fix every scratch.”
Not true. Only clear coat imperfections can be corrected. Deep gouges may require repainting.
“It harms the paint.”
When performed correctly, paint correction is safe and actually preserves your paint by removing damaged layers.
Tools & Products Checklist
Here’s what you’ll need for an effective paint correction:
- Dual-action or rotary polisher
- Polishing pads (cutting and finishing)
- Compounds and polishes
- Microfiber towels
- IPA solution
- Clay bar or mitt
- Automotive masking tape
DIY vs Professional Paint Correction
DIY Approach:
Ideal for detailers who enjoy the hands-on process and have the patience to learn. It takes time, attention to detail, and the right tools.
Professional Service:
Handled by trained technicians with experience and equipment. Delivers consistent, refined results with minimal effort on your part.
Tip: If you’re correcting a vehicle for the first time or working on a high-value car, consulting a professional may be the better route.
How Often Should You Do Paint Correction?
Paint correction isn’t routine maintenance—it’s a restorative procedure. Most vehicles only require it once or twice over their lifespan, depending on:
- Driving and parking conditions
- Exposure to elements
- Washing habits
- Use of protective coatings
Preserve your results with proper care and regular protection.
Mistakes to Avoid
❌ Skipping the decontamination step
❌ Using the wrong pad-polish combination
❌ Over-polishing the same area
❌ Failing to do a test spot before starting the entire car
Start slow and methodically to avoid damaging the paint.
Final Thoughts: Is Paint Correction Right for You?
Absolutely. Whether you’re restoring a classic, prepping for ceramic coating, or just want to fall in love with your car again, paint correction is a powerful way to achieve that deep, flawless shine. It’s not just about beauty—it’s about preserving and protecting your investment.
If you’ve been researching how to paint correction a car or wondering whether it’s time to rejuvenate your vehicle’s finish, now you have the roadmap. With the right tools, techniques, and a bit of patience, your car’s paint can look spectacular once again.