

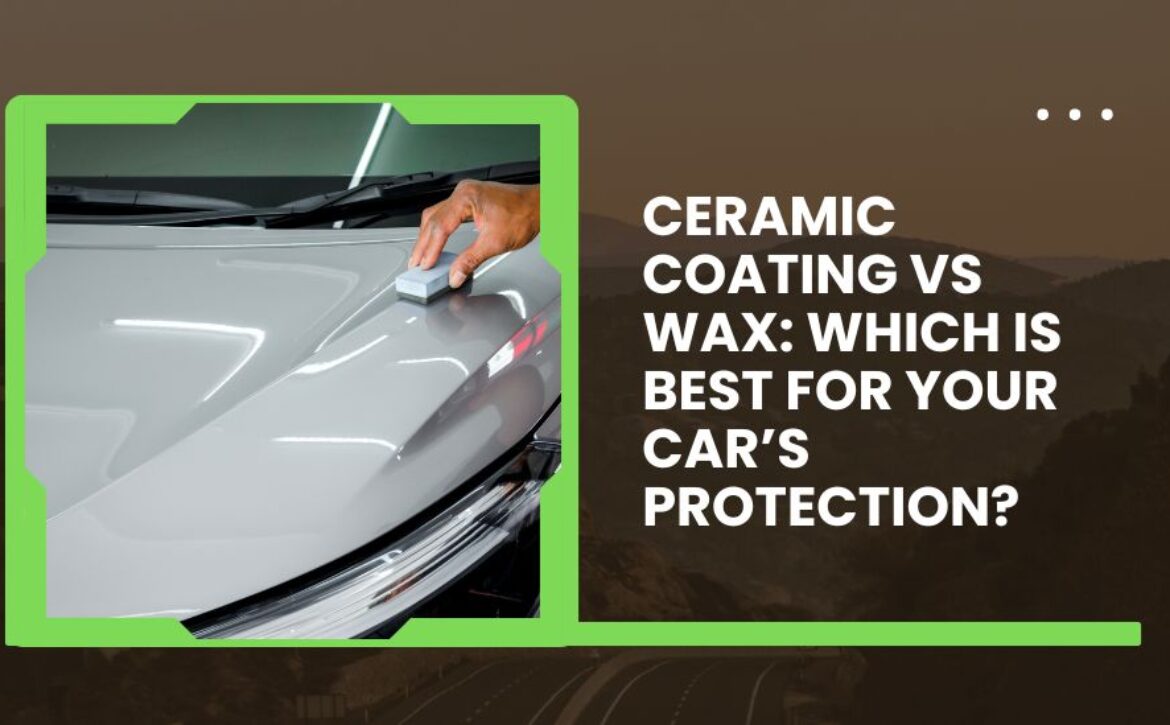
Ceramic Coating vs Wax: Which Is Best for Your Car’s Protection?
In the world of automotive care, ceramic coating has emerged as the benchmark for long-lasting paint protection. As more drivers look to maintain their vehicle’s showroom shine, questions like “Can you wax over ceramic coating?” or comparisons such as ceramic wax vs ceramic coating have become more common.
This guide breaks down the key differences between these protective methods, helping you choose what’s right for your vehicle.
What Is Ceramic Coating?
Ceramic coating is a liquid polymer that bonds chemically with your car’s paintwork. Made primarily from silicon dioxide (SiO₂)—a compound found in quartz—it creates a long-lasting layer of protection once cured.
Top Features:
- Water-repellent surface – Promotes beading and easy cleaning
- UV protection – Reduces paint oxidation and fading
- Chemical resistance – Guards against bird droppings, tree sap, and road grime
- Scratch resistance – Deters light abrasions and swirl marks
- Gloss enhancement – Provides a sleek, reflective finish
Ceramic Coating vs Car Wax: Key Differences
While wax has long been the go-to product for a glossy finish, ceramic coating offers far more advanced protection.
Car Wax:
- Typically made from carnauba or synthetic materials
- Adds shine and limited environmental protection
- Needs to be reapplied regularly
- Quick and easy to apply by hand
Ceramic Coating:
- Forms a hardened, semi-permanent bond with paint
- Superior defense against UV rays and chemical contaminants
- Offers long-term protection with minimal maintenance
- Often requires careful surface preparation for optimal results
Bottom Line: Wax gives you instant shine but temporary benefits, while ceramic coating delivers lasting results with advanced protection.
Ceramic Wax vs Ceramic Coating: What’s the Difference?
The term ceramic wax may sound similar to ceramic coating, but they differ significantly in formulation and function.
Ceramic Wax:
- A hybrid blend that combines traditional wax with ceramic (SiO₂) components
- Easier to apply at home than full ceramic coatings
- Offers a boost in durability compared to regular wax
- Ideal for users who want better protection without a full coating process
Ceramic Coating:
- A pure, concentrated product that bonds chemically to the paint
- Provides stronger, longer-lasting protection
- Easier to maintain once applied
- Typically used on vehicles requiring more advanced care
Verdict: If you’re looking for a user-friendly upgrade from regular wax, ceramic wax is a good start. But if you want long-term performance and the ultimate gloss, ceramic coating is the top choice.
Can You Wax Over Ceramic Coating?
A common question is: Can you apply wax on top of a ceramic coating?
Yes, you can—but it’s usually not necessary. Ceramic coatings are already hydrophobic and protective. While adding wax won’t harm the coating, it typically doesn’t enhance the performance and may slightly reduce its self-cleaning abilities.
Why Some People Still Wax Over Coating:
- To add a temporary boost in shine
- As part of a regular detailing habit
- For a short-term enhancement in water repellency
If you do choose to wax:
- Wait at least a week after applying ceramic coating
- Use non-abrasive, ceramic-safe wax products
- Apply gently and sparingly
Benefits of Ceramic Coating for Cars
- Superior Paint Protection
Shields against harmful UV rays, environmental contaminants, bird droppings, and chemical stains. - Easy Cleaning
Thanks to its hydrophobic surface, water and grime slide off easily—reducing how often you need to wash your car. - Long-Lasting Gloss
Delivers a rich, mirror-like shine that stays vibrant over time. - Low Maintenance
No need for frequent waxing or polishing. A simple hand wash keeps the vehicle looking great. - Preserves Value
Protects your vehicle’s finish, helping maintain its condition and appearance.
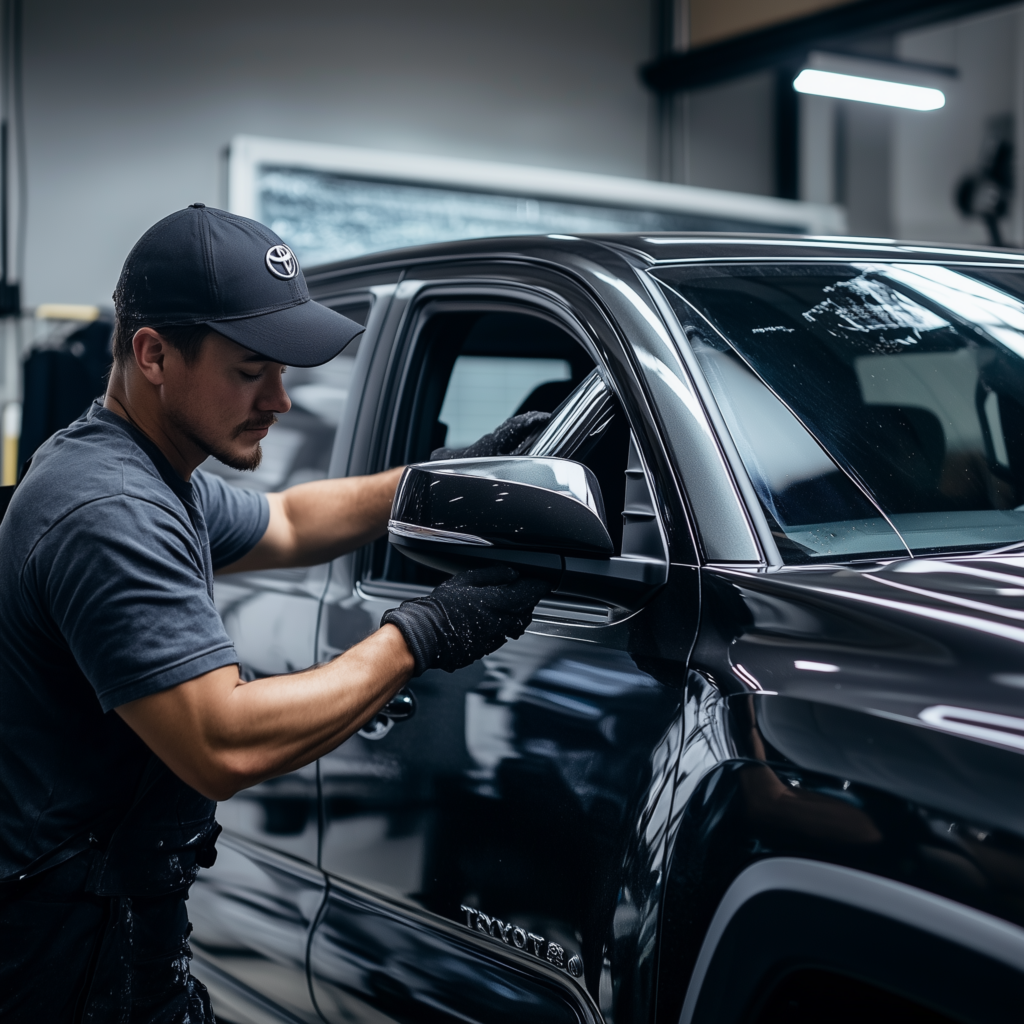
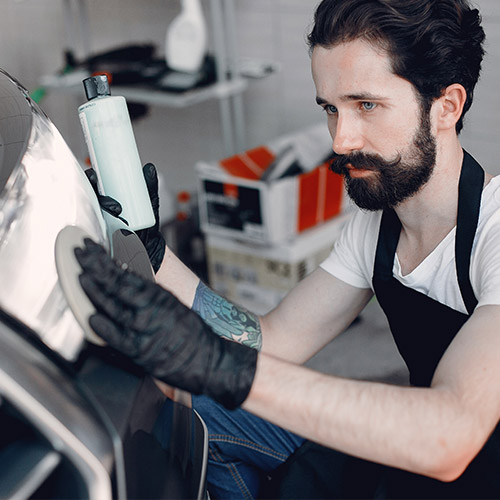
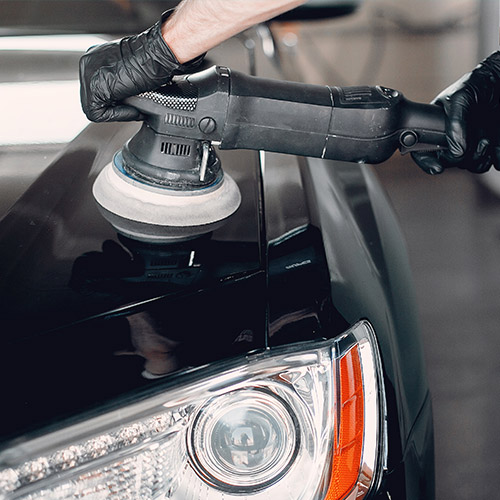
DIY vs Professional Ceramic Coating
Both DIY and professional applications have their place. The choice depends on your comfort level and goals.
DIY Ceramic Coating:
- Great for detail-oriented enthusiasts
- Typically involves shorter durability and more frequent reapplication
- Requires careful surface prep and patience
Professional Ceramic Coating:
- Offers a higher-quality finish and longer-lasting protection
- Often includes paint correction beforehand
- Applied in a controlled environment for optimal results
Tip: DIY kits are perfect for small projects or practice. For complete protection and perfection, professional application is often preferred.
Common Myths About Ceramic Coating
Myth 1: It makes your car scratch-proof
Truth: It helps resist light scratches but won’t prevent damage from impacts or deep abrasions.
Myth 2: You’ll never need to wash your car again
Truth: Dirt still collects—coating simply makes it easier to rinse away.
Myth 3: All ceramic coatings are the same
Truth: Quality varies by brand, formulation, and SiO₂ content.
How to Maintain a Ceramic Coated Car
To keep your coating in top shape:
✔ Wash regularly with pH-neutral car shampoo
✔ Avoid automatic washes with brushes
✔ Use microfiber towels for drying
✔ Apply a ceramic-safe booster spray every few months
✔ Keep the car sheltered when possible to reduce UV exposure
Final Thoughts: Ceramic Coating or Wax?
If you want a clean, glossy car with minimal effort and long-term protection, ceramic coating stands out as the superior option. While wax remains a solid choice for those who enjoy frequent detailing or need a quick gloss boost, it simply can’t match the durability and resistance of a well-applied ceramic coating.
When deciding between car wax vs ceramic coating or comparing ceramic wax vs ceramic coating, your choice depends on how much protection and maintenance ease you want. For maximum results, ceramic coating is the clear winner.