Why Choose Our Ceramic Coating Services?

At Premier Vehicle Films, we are committed to enhancing and protecting your vehicle’s appearance with our specialized ceramic coating services. Located in the vibrant city of Queen Creek, AZ, we provide a comprehensive solution that ensures your vehicle remains pristine and shielded from environmental harm.

Here’s why our ceramic coating is considered top-notch:

Expert Installation and Durability:

Our technicians are highly trained and experienced in the application of ceramic coatings. We use industry-leading techniques to ensure that the coating bonds perfectly with your vehicle’s paint, providing unbeatable durability.

Glossy, Long-Lasting Finish

One of the primary benefits of our ceramic coating is the brilliant shine it lends to your vehicle’s surface. The coating’s glossy finish not only enhances its aesthetic appeal but also provides long-lasting protection.

Environmental Shield

The ceramic coating acts as a barrier against UV rays, dirt, bird droppings, and various other elements that can damage your vehicle’s exterior. This protective layer helps keep your vehicle looking new for longer.

Queen_Creek-Queen_Creek_Town_Hal
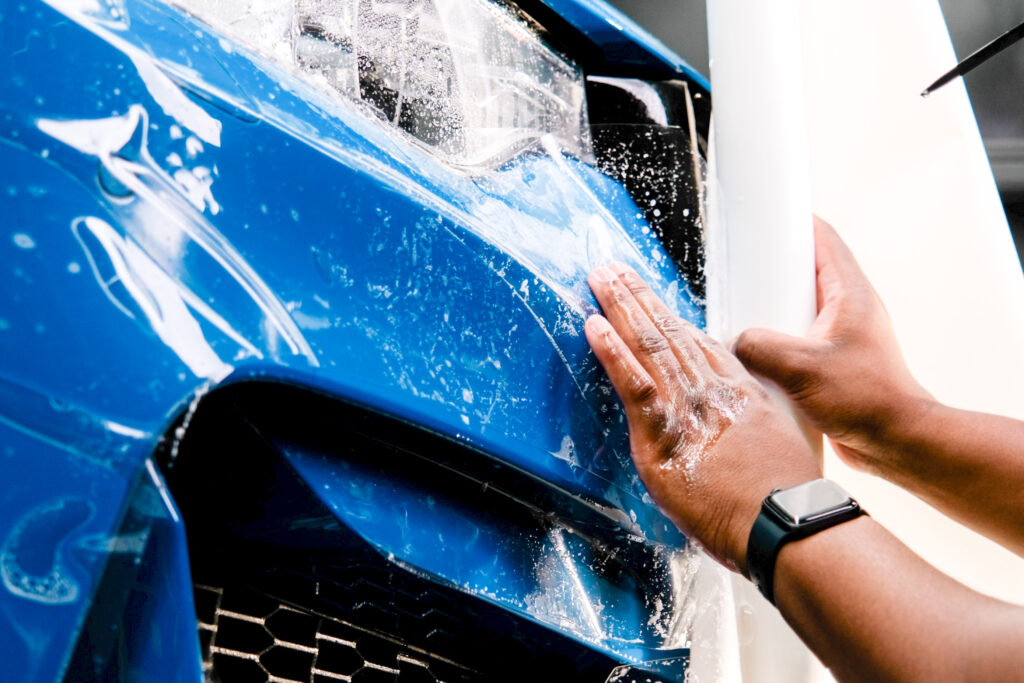
Car PPF Installation

By choosing Premier Vehicle Films for your ceramic coating needs, you’ll benefit from our commitment to quality and customer satisfaction. Our competitive edge lies in our meticulous attention to detail and the use of only the best materials.

The Benefits of Our Ceramic Coating Services

Our ceramic coating not only enhances your vehicle’s appearance but also provides numerous benefits, including:

Paint Protection Film

Enhanced Visual Appeal

The slick, glossy finish achieved with our ceramic coating gives your car a showroom-like appearance. Your vehicle will shine with enhanced color depth and clarity.

Paint Protection Film

Maintenance Simplicity

The hydrophobic properties of the ceramic coating make cleaning your vehicle a breeze. Dirt, grime, and water beads off easily, reducing the time and effort needed for washing.

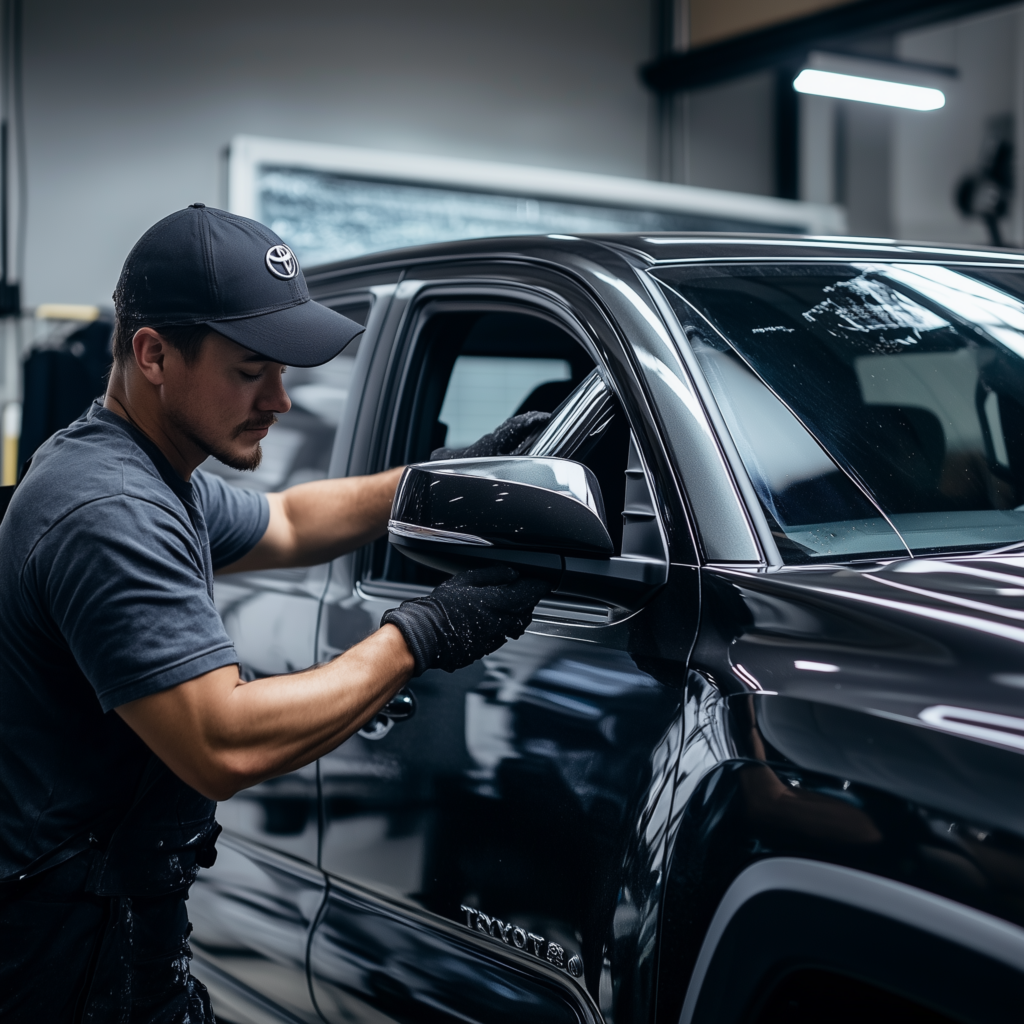
Ceramic Coating

Increased Resale Value

A vehicle with a well-maintained exterior often commands a higher resale price. Our ceramic coating helps preserve your vehicle’s finish, ensuring it looks great even after years of use.

Maintenance Tips for Your Ceramic Coated Vehicle

To maximize the benefits and longevity of your ceramic coating, follow these maintenance tips:

Regular Washing:

Maintain the cleanliness of the ceramic-coated surfaces by washing your vehicle regularly. Use a pH-neutral car shampoo and avoid abrasive cloths that may scratch the coating.

Do not use any cleaning agents that are not meant for coated vehicles as they can break down the coating. Stick to products specifically designed for automotive surfaces.

Inspect and Treat:

Periodically inspect your vehicle’s coating for signs of wear or damage. Scheduling routine maintenance treatments can help maintain the protective qualities of the coating.

Taking these steps ensures that your investment in ceramic coating gives your vehicle long-lasting beauty and protection.

Not located in Queen Creek? No worries, our San Tan Valley, Mesa, and Gilbert locations are ready to offer the same outstanding services!

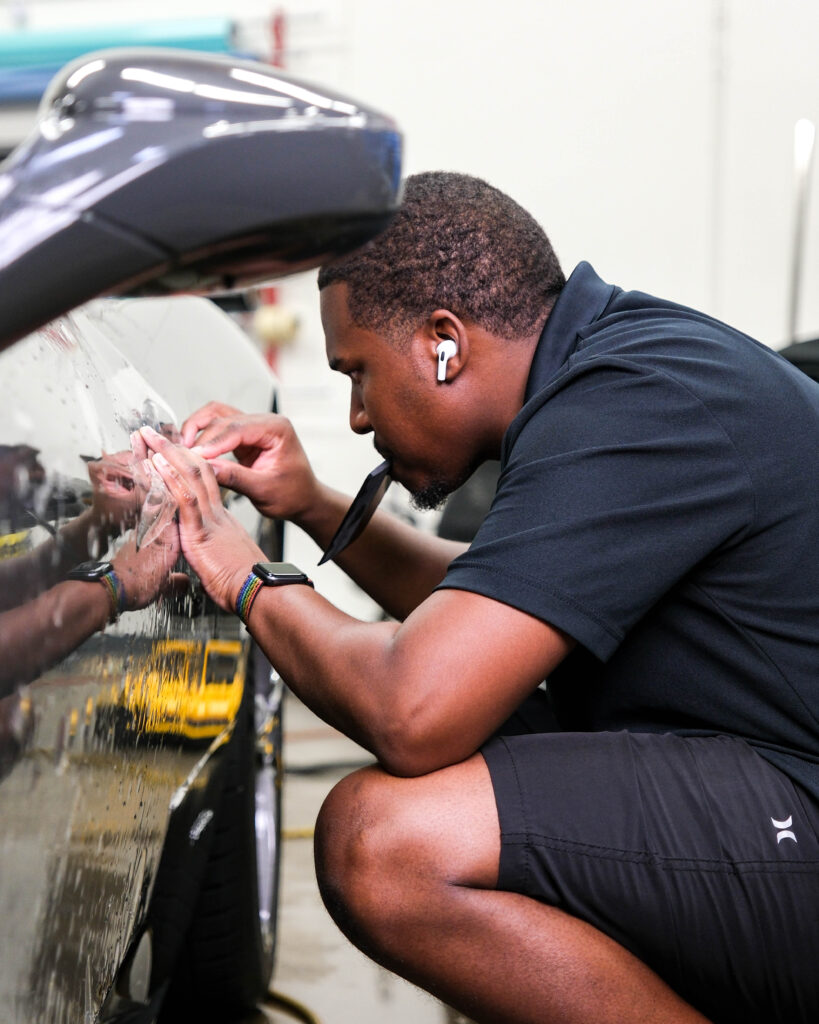
Expert PPF installation
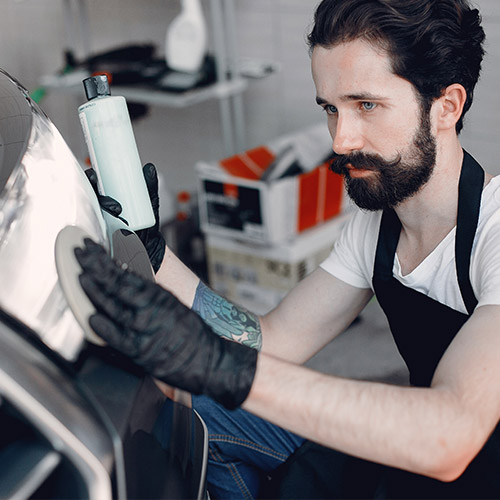
Window Tint

Explore Our Other Services

Besides ceramic coating, Premier Vehicle Films offers a variety of services to further protect and enhance your vehicle:

Colored PPF

– Add a splash of color with maximum protection.

Paint Protection Film

– Protect your vehicle from scratches and chips.

Window Tinting

– Improve privacy and reduce interior heat.

Visit our main site to learn more about our services and view our gallery of past work. At Premier Vehicle Films, we take pride in delivering the highest quality vehicle enhancements to our clients in Queen Creek and beyond. Contact us today for a consultation!

Open Hours
Mon - Fri:
8.00 am - 8.00 pm
Saturday:
9.00am - 6.00 pm
Sunday:
9.00am - 6.00 pm

How to Tell If Your Ceramic Coating Is Still Working

Ceramic coatings have revolutionized car care, offering a sleek finish, UV protection, and resistance to grime, water, and minor scratches. But how do you know if your ceramic coating is still working after months—or even years—of application? Just because your car looks clean doesn’t mean the coating is performing at its peak. Understanding the signs of a healthy coating and knowing when it starts to fail is crucial to maintaining that showroom shine.

In this article, we’ll explore simple methods to assess your coating’s condition, what indicators to look for, and how to extend the life of your investment.

What Does Ceramic Coating Do?

Before diving into tests and inspections, it helps to recap what ceramic coating is designed to do. Applied as a liquid polymer, ceramic coating chemically bonds to your car’s paint, forming a long-lasting protective layer. This layer provides:

  • Hydrophobic properties, causing water to bead and roll off
  • UV protection to prevent paint oxidation
  • Chemical resistance from road salts, bird droppings, and acidic contaminants
  • Enhanced gloss and shine
  • Easier cleaning and reduced dirt adhesion 

Most ceramic coatings last between 2–5 years, depending on the quality of the product, the application method, and ongoing maintenance.

Visual Inspection: The First Step

One of the easiest ways to begin a ceramic coating check is a simple visual inspection. Look at your car under natural light. Is the surface still glossy? Does it reflect light cleanly without appearing dull?

Here’s what a well-maintained coating should still display:

  • Gloss and Shine: The vehicle paint should appear deep, glossy, and reflective. 
  • Lack of Contaminant Buildup: If dirt or road grime seems to stick to the surface instead of easily rinsing off, your coating may be failing.
  • Even Appearance: The finish should be uniform. If certain panels look dull or discolored compared to others, those areas might have worn down. 

While visual cues can provide a clue, they are not enough to confirm the coating’s effectiveness. That’s where testing comes in.

The Water Behavior Test

Perhaps the most popular and accessible way to assess a ceramic coating is through a hydrophobic test. This involves pouring water on the car’s surface to observe how it behaves.

How to Perform a Hydrophobic Test:

  1. Use a hose or pour a clean bucket of water on a few sections of your car.
  2. Observe how the water reacts on the surface.
  3. Look for tight, round beads of water forming and rolling off smoothly. 

What It Means:

  • Tight Beads and Fast Sheeting: Your coating is in excellent condition.
  • Flat Water Pools: The hydrophobic properties are fading, meaning your coating may be wearing down.
  • Uneven Behavior: This suggests the coating is breaking down in patches and may need spot reapplication or a full refresh. 

This test provides a clear visual indicator of whether your coating is still doing its job effectively.

The Tactile Feel Test

Another useful test is to simply run your hand (or a microfiber towel) gently across a clean, dry surface of your car. When a ceramic coating is in good condition, the surface should feel extremely smooth and slick.

Key Signs of a Healthy Coating:

  • Silky and frictionless texture
  • No drag or resistance when wiping

If the surface starts feeling rough or sticky despite being clean, this may indicate contamination or the breakdown of the coating.

Mud and Dirt Repellency

A fully functioning ceramic coating will resist dirt, mud, and other road grime. If you find that dirt is sticking more easily or taking longer to clean off than usual, it might be a sign your coating’s self-cleaning properties are diminishing.

Observe how frequently you have to wash your car and how difficult it is to remove dirt. If you’re needing more effort and more soap than usual, the protective layer may be compromised.

Chemical Decontamination Reaction

Advanced users or professional detailers might use pH-neutral or slightly acidic cleaners to observe how the coating responds. On a healthy coating, contaminants like iron fallout or tree sap should not bond strongly to the surface.

Warning: Only use automotive-safe chemicals and test a small area first. Overuse of harsh products can strip the coating and make the problem worse.

Professional Inspection and Tools

If you’re still unsure, a visit to a professional auto detailer can help. They can use tools like:

  • Paint thickness gauges
  • Infrared thermometers (to detect heat retention from failed coatings)
  • Coating-specific testers

Professionals can also detect any improper maintenance or errors in the application process and offer solutions such as coating rejuvenators or reapplication services.

Common Myths About Failing Ceramic Coatings

Let’s clear up a few misconceptions that might lead you to think your coating has failed when it hasn’t:

  • Myth: Water spots mean the coating failed.
    Truth: Water spots can form on any surface, even with a coating. They’re caused by mineral deposits, not coating failure. 
  • Myth: Loss of gloss means no protection.
    Truth: While gloss often diminishes with time, the protective properties might still be intact. 
  • Myth: You should never have to wash a ceramic-coated car.
    Truth: You still need to wash regularly—but it should be easier.

Understanding these myths helps you perform a realistic assessment of your coating’s performance.

How to Maintain the Coating for Longevity

If your coating is still functional but showing early signs of wear, you can prolong its lifespan with proper care:

  • Use pH-neutral car shampoos specifically designed for ceramic-coated vehicles.
  • Avoid automatic car washes with brushes or harsh chemicals.
  • Apply ceramic boosters or toppers every few months.
  • Dry your car properly to avoid water spots.

Regular inspections every 3–6 months can catch early signs of wear and help maintain optimal performance.

When to Reapply or Replace the Coating

Despite best practices, all ceramic coatings have a lifespan. If multiple sections fail the hydrophobic test, the surface loses its slick feel, and cleaning becomes difficult—it might be time to reapply.

Consider a full re-coating if:

  • You’re not seeing any water beading or sheeting
  • There’s excessive dirt retention
  • The car’s gloss has significantly dulled
  • Patches of paint appear exposed or uneven

Professional removal and reapplication ensure that your vehicle regains full protection and shine.

Final Thoughts

Knowing how to tell if your ceramic coating is still working is essential for car owners who want to preserve their investment and ensure long-term paint protection. From visual checks to the hydrophobic test and even a full ceramic coating check, these methods can help you determine when to maintain, boost, or replace your coating.

A little attention goes a long way. Regular inspection and maintenance will keep your car looking like new and protected from the elements year after year.

The Complete Guide to Paint Protection Film: Benefits, Comparisons & Care

Introduction

Your vehicle’s paint is constantly exposed to road debris, UV rays, bird droppings, tree sap, and countless other environmental hazards. Over time, these threats take a toll, dulling the finish and diminishing your car’s appearance.
Paint Protection Film (PPF) is one of the most effective solutions to preserve your car’s exterior, keeping it looking like new while adding a durable layer of protection against physical damage and harsh elements.

In this guide, you’ll discover what PPF is, how it works, its major benefits, how it compares to ceramic coating, and how to care for it long-term.

What Is Paint Protection Film?

Paint Protection Film is a transparent urethane layer applied directly to your car’s painted surfaces. Originally developed for military use to protect helicopter blades, modern automotive PPF has become an essential upgrade for both luxury vehicles and daily drivers.

How It Works:

  • Acts as a physical barrier against chips, scratches, and contaminants
  • Self-healing properties allow minor scratches to disappear when exposed to heat
  • Protects the paint underneath from long-term damage

Key Benefits of Paint Protection Film

1️⃣ Superior Defense Against Physical Damage

  • Shields against stone chips, gravel, and small road debris
  • Reduces the risk of swirl marks caused by improper washing techniques

2️⃣ Self-Healing Technology

  • Fine scratches disappear when exposed to sunlight or warm water
  • Keeps the surface smooth and glossy with minimal upkeep

3️⃣ UV and Chemical Resistance

  • Protects against paint oxidation and fading caused by the sun
  • Resists damage from bird droppings, insect splatter, tree sap, and harsh contaminants

4️⃣ Maintains Resale Value

  • Preserves the factory paint’s original condition
  • Increases vehicle appeal to future buyers by minimizing visible wear

5️⃣ Virtually Invisible Protection

  • High-clarity films maintain your vehicle’s color and finish
  • Available in both gloss and matte options for a custom look

Paint Protection Film vs Ceramic Coating

While both PPF and ceramic coatings offer excellent protection, they serve distinct purposes:

Feature Paint Protection Film (PPF) Ceramic Coating
Type of Protection Physical barrier (chips, scratches) Chemical barrier (UV, contaminants)
Self-Healing Yes (with heat) No
Durability Long-lasting (5–10 years) Moderate to long (2–5 years)
Surface Finish Gloss or matte Deep gloss only
Hydrophobic Properties Optional with top coat Built-in hydrophobicity

Pro Tip: Many vehicle owners combine both PPF and ceramic coating to achieve maximum protection and ease of maintenance.

Can PPF and Ceramic Coating Be Combined?

Yes! This combination delivers the best of both worlds:

  • PPF protects against chips, scratches, and impact damage.
  • Ceramic Coating adds superior hydrophobic properties, enhanced gloss, and makes cleaning even easier.

Applying ceramic coating over PPF further boosts its durability and keeps your car’s exterior looking freshly detailed.

How to Clean and Maintain Paint Protection Film

Proper care ensures your PPF performs and looks its best for years.

Recommended Cleaning Products:

  • CarPro Elixir: pH-neutral quick detailer that’s safe for PPF
  • Gyeon Q²M Cure: Maintains hydrophobic properties
  • Chemical Guys Meticulous Matte: Ideal for matte PPF finishes

Cleaning Routine:

1️⃣ Rinse Thoroughly – Use a hose or pressure washer (low setting) to remove loose dirt.
2️⃣ Gentle Wash – Clean with a microfiber mitt and PPF-safe, pH-neutral shampoo.
3️⃣ Dry Properly – Use soft microfiber towels or blow drying tools.
4️⃣ Maintain Protection – Apply a PPF-safe sealant every few months to refresh the hydrophobic layer.

What to Avoid:

  • Abrasive brushes or rough sponges
  • Ammonia-based cleaners
  • Automatic car washes with harsh bristles

Frequently Asked Questions

Q1: How long does Paint Protection Film last?
High-quality PPF can last 5 to 10 years, depending on maintenance, brand, and driving conditions.

Q2: Can PPF be removed?
Yes. Professionals can safely remove PPF without damaging your original paint.

Q3: Will PPF turn yellow over time?
Modern films from reputable brands are UV-resistant and designed to stay clear for years.

Q4: Is Paint Protection Film worth it?
Absolutely. Preventing damage now can save you from costly paint repairs and help retain your car’s value.

Final Thoughts

Paint Protection Film offers one of the most advanced, long-term solutions for preserving your vehicle’s appearance. With self-healing technology, outstanding durability, and superior resistance to chips and scratches, PPF goes far beyond traditional waxes or sealants.
By combining PPF with regular care—and optionally, ceramic coating—you can ensure your vehicle remains protected, stunning, and easier to maintain for years to come.

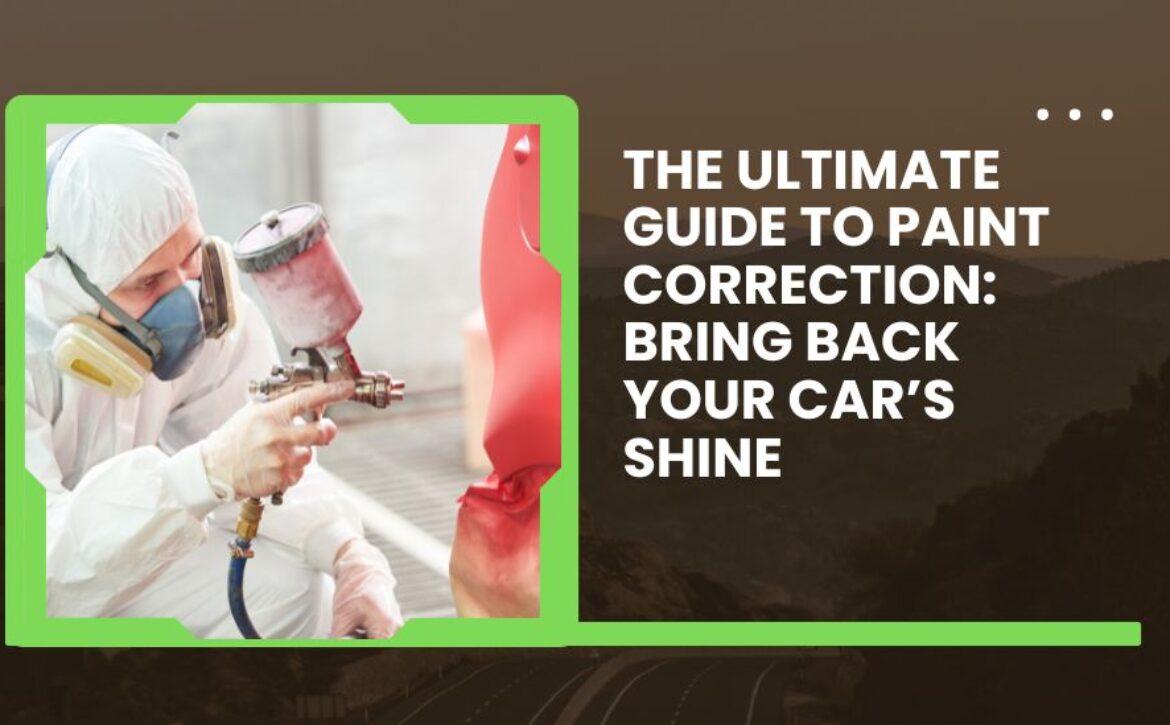
The Ultimate Guide to Paint Correction: Bring Back Your Car’s Shine

If your vehicle’s paint has lost its brilliance and now shows signs of swirls, scratches, or dullness, it might not need a repaint—it likely needs paint correction. Whether you’re a hands-on DIY detailer or simply curious about restoring your car’s finish, this guide covers everything you need to know about the paint correction process and how it can transform your ride.

What is Paint Correction?

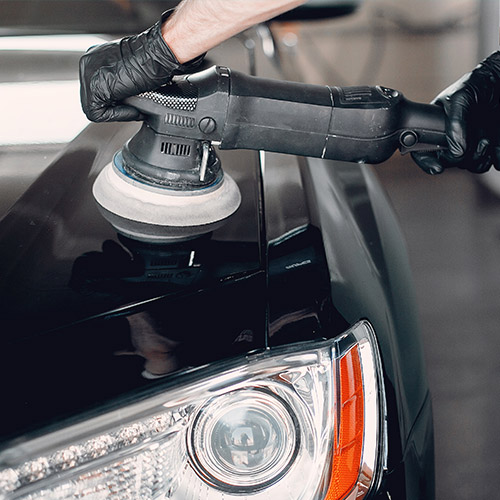
Paint correction is a detailed process that removes surface-level imperfections from your car’s clear coat. Using specialized tools and polishing techniques, it eliminates:

  • Swirl marks
  • Light scratches
  • Oxidation
  • Water spots
  • Holograms

By leveling the clear coat and refining the surface, paint correction restores depth, gloss, and a glass-like shine to your vehicle’s exterior.

Why Paint Correction Matters

From daily driving to environmental exposure, your vehicle faces countless threats to its paint. Here’s why paint correction is a valuable service:

  • Restores Original Gloss – Revives the rich color and finish of your paint
  • Improves Resale Appeal – A flawless exterior creates a better first impression
  • Prepares for Protection – Creates an ideal base for ceramic coatings or PPF
  • Removes Unwanted Marks – Eliminates visible damage like swirl marks and surface scuffs

How to Perform Paint Correction: Step-by-Step

Step 1: Wash and Decontaminate

Begin by cleaning the surface thoroughly:

  • Use pH-neutral car shampoo
  • Apply iron remover and clay bar/mitt to lift embedded debris

Step 2: Inspect the Paint

Use proper lighting or a paint depth gauge to identify problem areas. Mark heavier defects that need extra attention.

Step 3: Mask Delicate Areas

Apply masking tape over trim, badges, and edges to avoid accidental damage during machine polishing.

Step 4: Compound the Surface

This is the correction stage:

  • Use a dual-action or rotary polisher
  • Apply a cutting compound with a firm pad
  • Work in controlled sections with overlapping passes

Step 5: Polish to Refine

Once compounding is complete:

  • Switch to a softer pad and finishing polish
  • Remove micro-marring and restore full clarity

Step 6: Wipe Down and Inspect

Use an isopropyl alcohol (IPA) solution to clear any polish residue and re-check your work under light.

Step 7: Apply Paint Protection (Optional)

Lock in the results using:

  • Ceramic coating
  • Paint sealant
  • Carnauba wax

This step enhances gloss and shields your paint from future contaminants.

Debunking Common Paint Correction Myths

“It’s just like waxing.”
No—it’s completely different. Wax masks damage; paint correction removes it.

“It can fix every scratch.”
Not true. Only clear coat imperfections can be corrected. Deep gouges may require repainting.

“It harms the paint.”
When performed correctly, paint correction is safe and actually preserves your paint by removing damaged layers.

Tools & Products Checklist

Here’s what you’ll need for an effective paint correction:

  • Dual-action or rotary polisher
  • Polishing pads (cutting and finishing)
  • Compounds and polishes
  • Microfiber towels
  • IPA solution
  • Clay bar or mitt
  • Automotive masking tape

DIY vs Professional Paint Correction

DIY Approach:
Ideal for detailers who enjoy the hands-on process and have the patience to learn. It takes time, attention to detail, and the right tools.

Professional Service:
Handled by trained technicians with experience and equipment. Delivers consistent, refined results with minimal effort on your part.

Tip: If you’re correcting a vehicle for the first time or working on a high-value car, consulting a professional may be the better route.

How Often Should You Do Paint Correction?

Paint correction isn’t routine maintenance—it’s a restorative procedure. Most vehicles only require it once or twice over their lifespan, depending on:

  • Driving and parking conditions
  • Exposure to elements
  • Washing habits
  • Use of protective coatings

Preserve your results with proper care and regular protection.

Mistakes to Avoid

❌ Skipping the decontamination step
❌ Using the wrong pad-polish combination
❌ Over-polishing the same area
❌ Failing to do a test spot before starting the entire car

Start slow and methodically to avoid damaging the paint.

Final Thoughts: Is Paint Correction Right for You?

Absolutely. Whether you’re restoring a classic, prepping for ceramic coating, or just want to fall in love with your car again, paint correction is a powerful way to achieve that deep, flawless shine. It’s not just about beauty—it’s about preserving and protecting your investment.

If you’ve been researching how to paint correction a car or wondering whether it’s time to rejuvenate your vehicle’s finish, now you have the roadmap. With the right tools, techniques, and a bit of patience, your car’s paint can look spectacular once again.

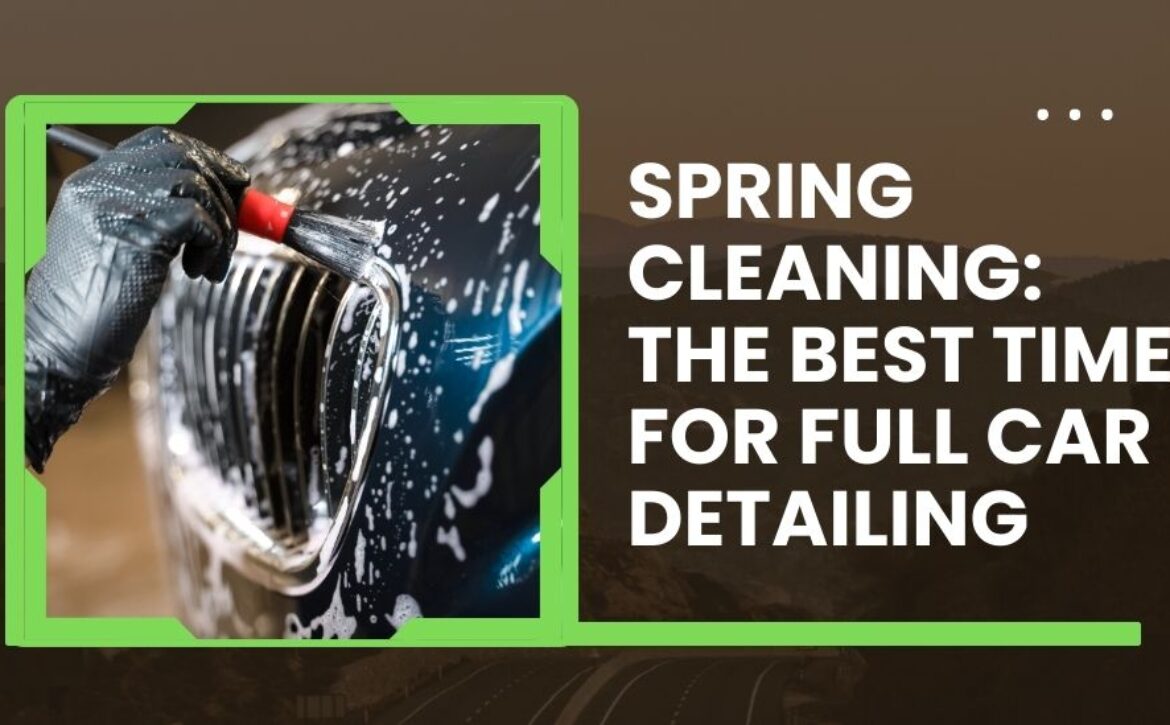
Spring Cleaning: The Best Time for Full Car Detailing

Spring is more than just a season of blossoms and warmer days—it’s also the perfect time to give your car the attention it truly deserves. After enduring months of rain, snow, salt, and grime, your vehicle needs more than a simple wash. Spring cleaning isn’t just for your home—your car deserves a refresh too. That’s where full car detailing comes in.

Whether you’re looking to improve your vehicle’s aesthetics, boost its resale value, or simply enjoy a more comfortable and hygienic ride, spring is the ideal season for a thorough detailing session. Here’s why—and how—to make the most of this timely automotive ritual.

Why Spring is the Best Season for Car Detailing

Winter is harsh on vehicles. Snow, salt, and slush wreak havoc on both the exterior and interior of your car. By the time spring rolls around, your car has likely accumulated layers of dirt, dust, and debris. Not to mention the unseen contaminants that affect the paint, undercarriage, and upholstery.

Spring’s mild weather offers perfect conditions for detailing. Unlike the freezing temperatures of winter or the scorching sun of summer, spring provides a moderate climate that ensures cleaning products work effectively without freezing or evaporating too quickly. This means you get better results with less effort and less risk of damage to your car’s surface.

Exterior Detailing: Restore the Shine

Spring is the ideal time to remove built-up grime and restore your car’s exterior to its glossy finish. Start with a deep wash to eliminate road salt, dirt, and debris. Pay special attention to the undercarriage, wheel wells, and tires—areas most affected by winter buildup.

After washing, move on to claying the surface. A clay bar removes embedded contaminants that washing alone can’t tackle. Once the surface is clean and smooth, polish the paint to eliminate minor scratches and oxidation. Finally, apply a high-quality wax or sealant to protect your car from UV rays, pollen, and spring rain.

This process not only revives the vehicle’s appearance but also protects its value and extends the life of the paint.

Interior Detailing: A Fresh Start Inside

While winter often means dragging in mud, moisture, and salt, spring invites you to reset the interior of your car. Start by removing all trash and clutter. Vacuum the carpets, seats, and trunk thoroughly. Use compressed air to clean out tight spaces such as air vents, seat rails, and dashboard crevices.

Wipe down all interior surfaces with appropriate cleaners—use leather conditioner for leather seats and gentle fabric cleaners for cloth upholstery. Shampoo the carpets if necessary, especially if salt stains are visible.

Finish the process by cleaning the windows and mirrors inside and out. Clean glass not only looks better but also enhances driving safety by reducing glare and improving visibility.

Don’t Forget the Details

Full car detailing isn’t complete without attention to the small things. Clean your headlights and taillights—they can become cloudy over time, which reduces visibility and the overall aesthetic of your car. Also, detail the engine bay. A clean engine compartment isn’t just about looks; it can also help identify leaks or worn belts before they become major issues.

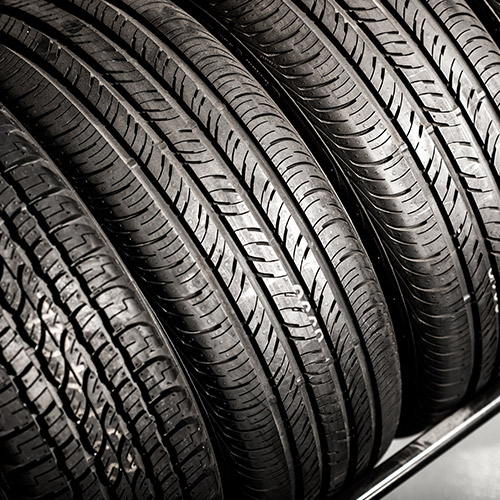
Tire and wheel care is also crucial. Use a dedicated wheel cleaner and a brush to remove brake dust and road grime. Then, apply a tire dressing to enhance the rubber’s appearance and provide protection against cracking and fading.

Create a Seasonal Detailing Routine

One of the best ways to stay consistent with your vehicle’s maintenance is to follow a car detailing checklist tailored to each season. In spring, this checklist should include:

  • Exterior wash and wax 
  • Undercarriage and wheel well cleaning 
  • Paint decontamination (clay bar treatment) 
  • Paint polishing and sealing 
  • Headlight and taillight restoration 
  • Full interior vacuum and shampoo 
  • Dashboard and console wipe-down 
  • Glass cleaning 
  • Leather or fabric conditioning 
  • Engine bay cleaning 

By following a structured approach, you won’t miss any crucial steps, and you’ll ensure that your car remains in top condition as the seasons change.

Spring Car Care and Preventive Maintenance

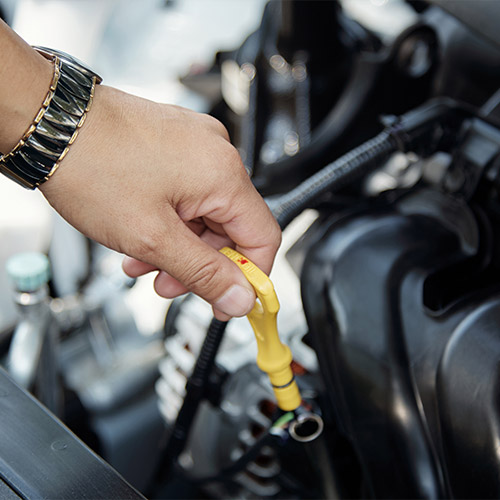
Detailing is a major part of spring car care, but it’s also a good opportunity to perform some basic maintenance. After all, a clean car that doesn’t run well is only half the job done. Check your tire pressure and tread depth, change the oil if needed, inspect belts and hoses, and top off your windshield washer fluid. You should also examine your wiper blades, as they often wear down during winter.

If you haven’t already, schedule a professional inspection to check for any mechanical issues that may have been exacerbated by the colder months.

DIY vs. Professional Detailing

Some car owners prefer to detail their vehicles themselves, while others opt for professional services. Both approaches have benefits. DIY detailing can be therapeutic and budget-friendly if you have the time and tools. However, professional detailing often yields more precise results and uses industrial-grade products and equipment for longer-lasting protection.

If you’re short on time or want to ensure maximum quality, spring is a great time to book a professional detailing appointment. Look for a reputable service that uses eco-friendly products and has good customer reviews.

Benefits Beyond the Clean

Detailing is more than just cosmetic. It improves driving comfort, protects your investment, and even contributes to better mental well-being. Think about it: driving a clean, fresh-smelling car just feels better. It reduces stress, enhances focus, and makes commuting or traveling more enjoyable.

Additionally, if you’re planning to sell or trade in your car in the near future, a freshly detailed vehicle will fetch a higher price and create a stronger first impression with potential buyers.

Conclusion: Make the Most of Spring

There’s a reason why “spring cleaning” is such a well-known concept—it marks a time of renewal, of starting fresh. Don’t limit this revitalization to your home; your car deserves the same care. With the mild weather, longer days, and the aftermath of winter, spring cleaning is undeniably the best time for full car detailing.

By committing to seasonal detailing, especially in the spring, you ensure your vehicle not only looks great but performs better and lasts longer. So grab your checklist, carve out a few hours, and give your car the makeover it’s been waiting for all winter.

What is the downside of PPF?

Explore the potential downsides of Paint Protection Film (PPF) for your vehicle. Discover if it’s the right choice for you and weigh its pros and cons in this comprehensive guide.